Do you want to wall mount your monitor but are worried about the holes it might leave in your wall? Or maybe you don’t have a drill and don’t want to make any holes in your walls. Fear not! This guide will teach you how to wall mount a monitor without holes. We’ll go over some frequently asked questions and provide tips on how to make the process as easy as possible.
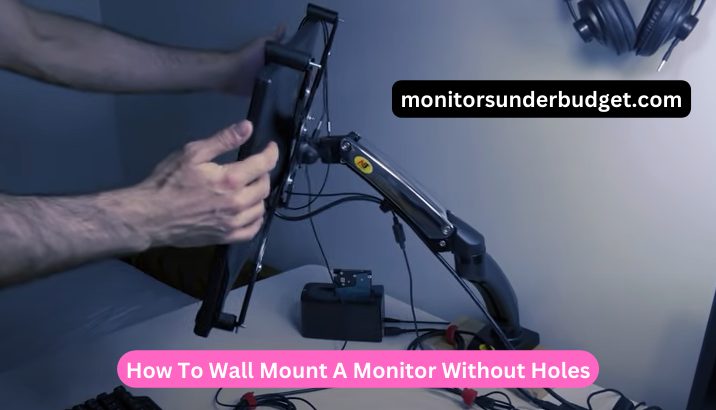
How To Wall Mount A Monitor Without Holes
1. What You’ll need
– A monitor
– A wall mount
– Something to act as a spacer (we’ll get to that later)
– screws
– drywall anchors (optional)
– wire management solutions (also optional)
2. Step-by-step guide
First, you need to gather your supplies. You’ll need a monitor, of course, as well as a wall mount. You’ll also need something to act as a spacer between the monitor and the wall. This is important, as it will allow you to make sure that the monitor is level when you mount it.
You’ll also need screws and drywall anchors (optional). If you’re worried about wire management, you can also get some wire management solutions (also optional).
Now that you have everything you need, let’s get started!
Start by finding the center of your monitor. This is important, as it will be the starting point for all of your measurements. Once you’ve found the center, mark it with a pencil.
Then, using a level, draw a line across the wall where you want to mount the monitor. This will be your reference point.
Next, find the center of the wall mount. Mark this point with a pencil as well. Then, using a tape measure, measure the distance between the center of your monitor and the center of the wall mount.
This measurement will be important when you’re mounting the wall mount. Now that you have all of your measurements, it’s time to mount the wall mount.
If you’re using drywall anchors, start by drilling pilot holes into the drywall where the screws will go. Then, insert the drywall anchors and screw them into place.
Next, position the wall mount on the wall so that the center of the mount is lined up with the center of your monitor. Then, using the screws that came with the mount, screw it into place.
Now that the wall mount is in place, it’s time to attach your monitor to it. Start by placing your monitor face down on a soft surface.
Then, line up the mount with the holes on the back of your monitor. Once everything is lined up, simply screw your monitor into place.
And that’s it! You’ve successfully mounted your monitor without drilling any holes. Now all you have to do is sit back and enjoy your handiwork.
3. How to Mount a Monitor on the Wall Without Using Holes by VESA Adaptor Kit?
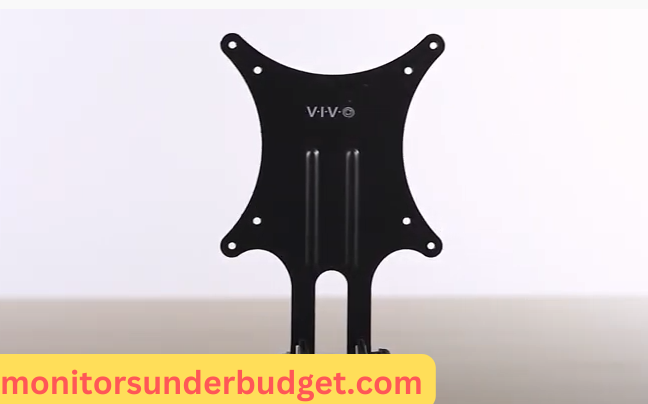
If you’re looking for a way to mount your monitor on the wall without drilling any holes, then you’ll need a VESA adapter kit. This type of kit allows you to attach your monitor to the wall using screws and brackets, without the need for any special tools or hardware.
There are a few things to keep in mind when choosing a VESA adapter kit. First, make sure that the kit is compatible with your specific model of monitor. Most kits will list the compatible models on the packaging.
Second, pay attention to the weight capacity of the kit. You’ll need to make sure that your monitor falls within the weight limit in order to avoid damaging the wall or the monitor itself.
Once you’ve chosen the right VESA adapter kit for your needs, follow the instructions that come with the kit to attach your monitor to the wall.
In most cases, this will involve attaching the brackets to the back of your monitor using screws, and then attaching the brackets to the wall using screws or nails.
Once everything is secure, you’ll be able to enjoy your monitor without worrying about it falling off the wall.
4. Adapters Clips for Wall Mounting of a Monitor
If you want to wall mount your monitor but don’t want to drill holes, there are a few different options available to you. One option is to use adapters and clips that attach to the back of your monitor. These adapters and clips are available for both LCD and CRT monitors.
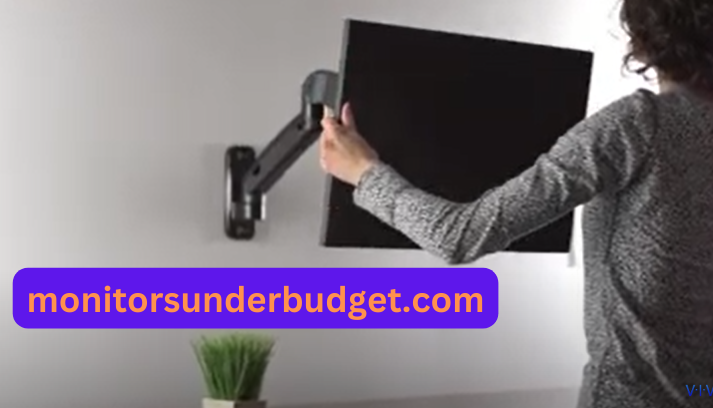
Another option is to use a VESA mount. VESA mounts are designed to attach to the back of your monitor without the need for drilling holes. VESA mounts are available in both fixed and articulating models.
If you’re not sure how to choose the right option for your needs, please consult a qualified professional. Drilling holes in your walls is not something to be taken lightly!
Different types of monitors require different types of wall mounts. LCD monitors, for example, are much lighter than CRT monitors and can be mounted using a variety of methods.
If you have a heavy CRT monitor, however, you’ll need to use a sturdier mount that can support the weight.
There are also a few things to keep in mind when choosing a wall mount for your monitor. Make sure that the mount you choose can support the weight of your monitor.
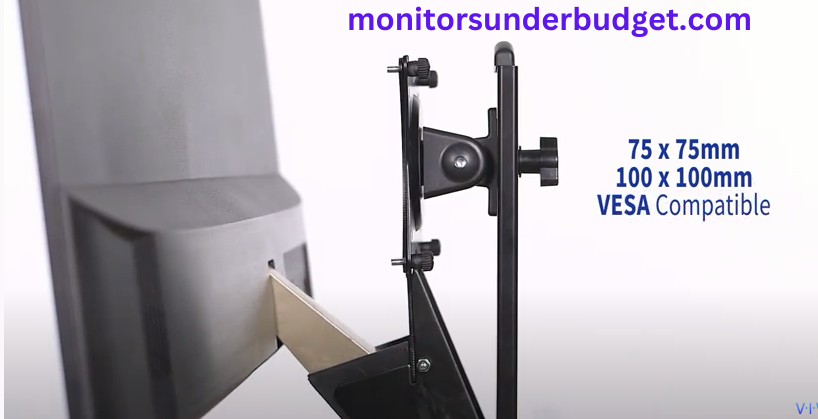
Also, make sure that the mount is compatible with the VESA standard. VESA is an industry-standard mounting interface that is used on most monitors.
Finally, make sure to follow the instructions that come with your wall mount. Installing a wall mount is not a difficult task, but there are a few things that you need to do in order to ensure that it is installed correctly.
Failure to follow the instructions could result in damage to your monitor or injury to yourself.
FAQs About How To Wall Mount A Monitor Without Holes
Q: Can I use this method for any size or type of monitor?
A: Yes, this method will work for any size or type of monitor as long as it has a VESA mount.
Q: Do I need to buy anything special to do this?
A: No, all you need is a VESA mount which can be easily found online or at your local hardware store.
Q: Is this method difficult?
A: No, this method is actually quite easy! Just follow the steps outlined above and you’ll be done in no time.
Conclusion
Wall mounting a monitor is an easy process that requires only a few tools and materials. With this method, you can save desk space and create a more ergonomic setup. Give it a try today. If you found this guide helpful, please share it with your friends or family members who might also benefit from it. Thanks for reading!
